Cheap, unsoldered Nano clone on eBay
So what do we have here?
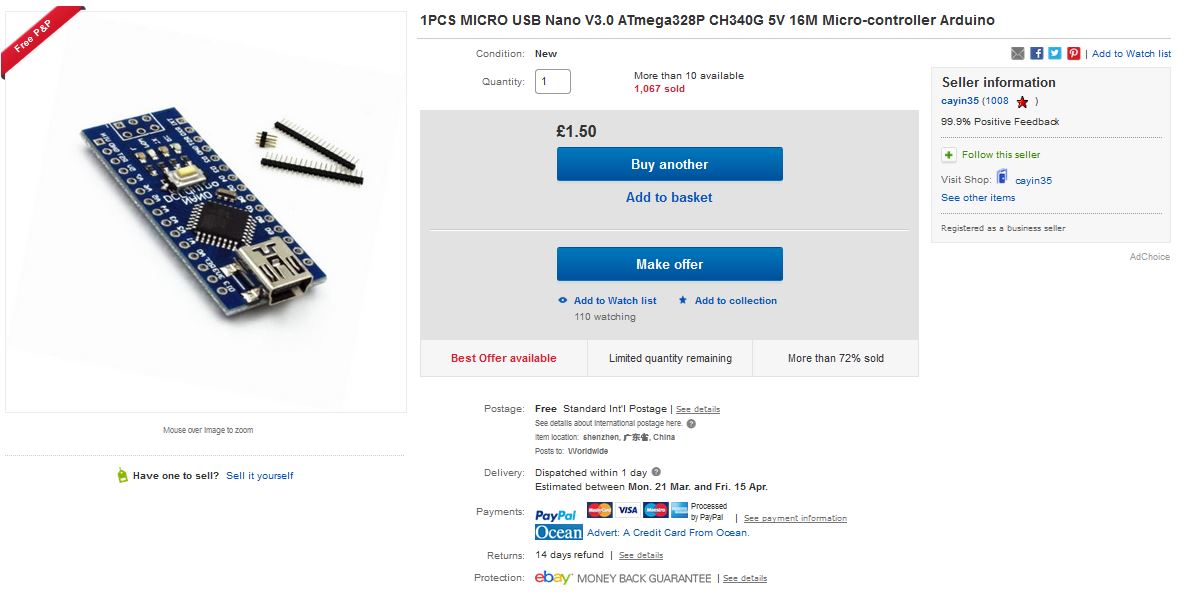
If you’re like me, and on your first steps into playing around with Arduino based boards, you probably chose a cheap eBay clone of your chosen Arduino board.
Something like the one pictured on the right.
To be honest, it’s hard to justify 18 UK pounds + VAT + shipping for a genuine Arduino board vs 1.5 pounds *including* shipping – at least for a pet learning project!
Especially when a 4-core Raspberry Pi 3 with 1GB of memory costs just 30 pounds (yes, I know they are different beasts power consumption, etc wise, but I’m thinking of pure hardware costs here – I should know since as of writing this, I own 4 RPis from version 1 to 3).
Mind you, I’m not saying the Arduino people don’t deserve our support, because they absolutely do. So if you’re not getting their hardware, drop them a donation – the link is easy to find on their download page (link below).
Why the Nano, or Arduino in general?
Price issues aside, I’m one of those individuals that doesn’t like taking on a fly with a sledgehammer – not when a £1.5 flyswatter will do.
Also, while most of the hardware addons have had their Arduino libraries ported to RPi, for example, there’s beauty in using a piece of hardware on the platform it was developed for, with the libraries that were written for it.
Also, no OS installation, no SD cards, etc. So if your project is not overly complicated (needs network / server, etc), you’re probably better off with the old, smart KISS -move.
(“Keep It Simple, Stupid”…)
Getting that thing running…
First you want to get two things before you plug in that thing (and see if it even works):
- get the official Arduino Software
- get the driver for your CH340-based board – yes, the driver zip is called CH341SER.ZIP (not “340”).
Official link or local mirror on this server (win) (newest as of 8.3.2016, driver dated 3.4.2014)
(MAC and Linux versions)
As usual with Strange Little Devices from Far Away Lands ™, you’re better off installing the drivers and software before plugging in anything. My personal installation order was “Chinese first, official for dessert”.
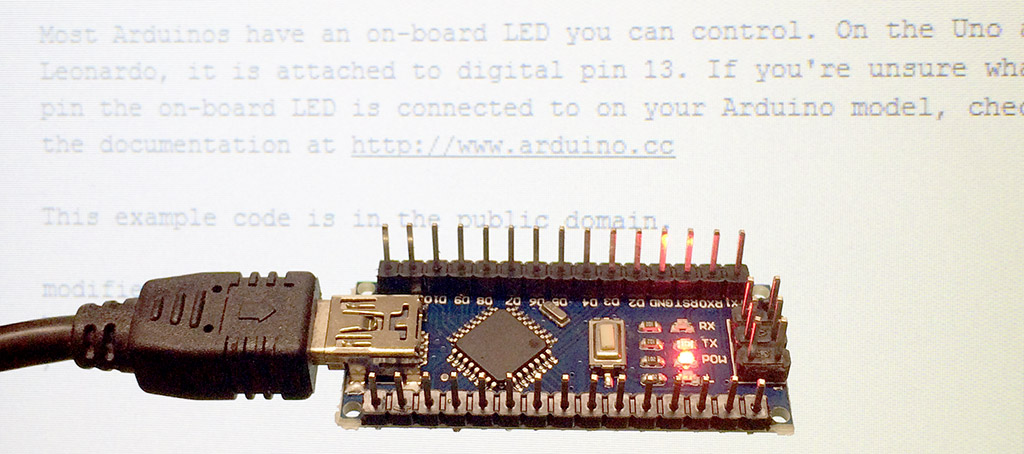
If everything goes as planned, the clone will light up that bright red led as soon as you plug it in and Windows (or your chosen OS poison) will churn a bit and recognize the device. It seems to depend a lot on your computer and network speed if you let Windows do it automatically (my old C2D laptop on ADSL took nearly 5 minutes while the faster i5 laptop on dedicated 100mbit network took 10 seconds, go figure).
Easiest way to test the device is to load up an example sketch (= piece of source code) from the example library under the File -menu in the Arduino software.
Just remember to choose the board and COM-port from the Tools / Board & Port -menus first!
When you have the code (I use “blink” under “01. Basics” as a test sketch), just hit CTRL+R to compile / verify it or CTRL+U to upload it. Presto!
If you ordered a “solder-it-yourself” -type board like me, you can do the connection and example sketch testing before you whip out your soldering iron and put the board together.
If no presto, check what you did, make sure USB wire, etc are working and if you still have problems you might want to think about complaining to the seller – the cheap clones are known for cheap quality and some of them *do* fail or are DoA. At this price you’re usually better off ordering two or three from different sources.
So what to do with it then? Well, personally I ordered a MAZ7219 dot LED matrix board (£1.24 on eBay) that I was planning to play with… More on that in the next article.